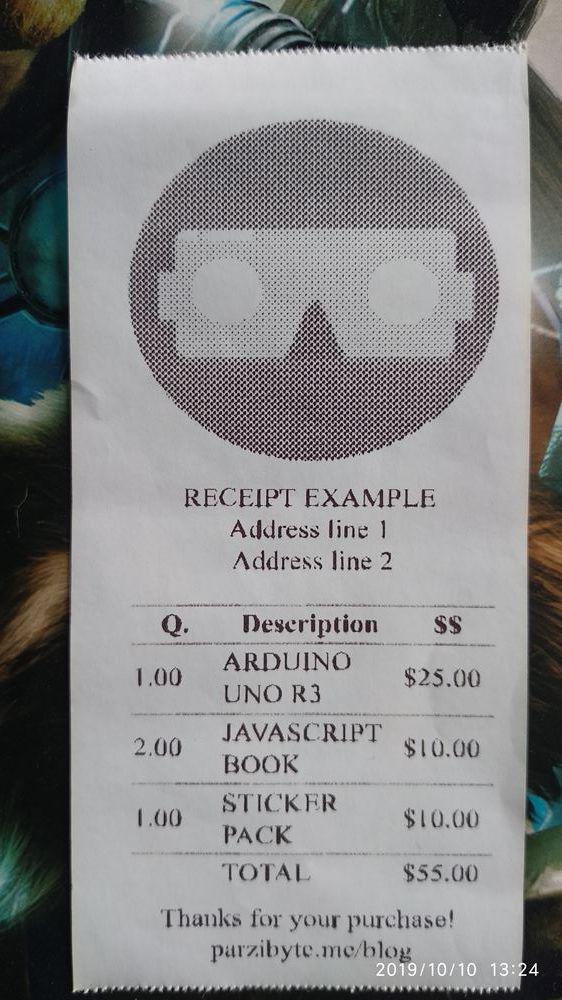
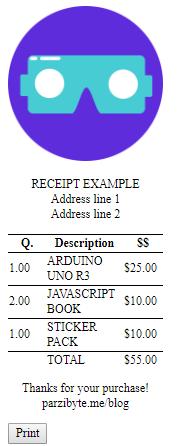
In this post I will show you how to print a ticket or receipt by using JavaScript (client side) and a thermal printer. At the end we will have a great ticket that looks like this:

Receipt printed in thermal printer using JavaScript only

Obviously you can change the font family, size, logo and so on. And remember: we will be using only pure CSS, HTML & JavaScript, no frameworks; though you can use any framework to render the content before printing.

You can see the demo here, and the full code on my GitHub.

Designing the ticket

First we have to write the HTML to print the ticket, in this case I will use a table to render the contents in a better way. Also, I’m using a image taken from pixabay. The code looks like this:

<!DOCTYPE html>
<html lang="en">
    <head>
        <meta charset="UTF-8">
        <meta name="viewport" content="width=device-width, initial-scale=1.0">
        <meta http-equiv="X-UA-Compatible" content="ie=edge">
        <link rel="stylesheet" href="style.css">
        <title>Receipt example</title>
    </head>
    <body>
        <div class="ticket">
            <img src="./logo.png" alt="Logo">
            <p class="centered">RECEIPT EXAMPLE
                <br>Address line 1
                <br>Address line 2</p>
            <table>
                <thead>
                    <tr>
                        <th class="quantity">Q.</th>
                        <th class="description">Description</th>
                        <th class="price">$$</th>
                    </tr>
                </thead>
                <tbody>
                    <tr>
                        <td class="quantity">1.00</td>
                        <td class="description">ARDUINO UNO R3</td>
                        <td class="price">$25.00</td>
                    </tr>
                    <tr>
                        <td class="quantity">2.00</td>
                        <td class="description">JAVASCRIPT BOOK</td>
                        <td class="price">$10.00</td>
                    </tr>
                    <tr>
                        <td class="quantity">1.00</td>
                        <td class="description">STICKER PACK</td>
                        <td class="price">$10.00</td>
                    </tr>
                    <tr>
                        <td class="quantity"></td>
                        <td class="description">TOTAL</td>
                        <td class="price">$55.00</td>
                    </tr>
                </tbody>
            </table>
            <p class="centered">Thanks for your purchase!
                <br>parzibyte.me/blog</p>
        </div>
        <button id="btnPrint" class="hidden-print">Print</button>
        <script src="script.js"></script>
    </body>
</html>

Remember: this is a static example, you can always use a framework (client side or server side) to render the content in a dynamic way.

We have some CSS Classes, for example “centered”. We have a button to print the ticket as well and we are loading a CSS file to give style.

Styiling receipt

Now we have to give some style to our receipt. Here’s the CSS code:

* {
    font-size: 12px;
    font-family: 'Times New Roman';
}

td,
th,
tr,
table {
    border-top: 1px solid black;
    border-collapse: collapse;
}

td.description,
th.description {
    width: 75px;
    max-width: 75px;
}

td.quantity,
th.quantity {
    width: 40px;
    max-width: 40px;
    word-break: break-all;
}

td.price,
th.price {
    width: 40px;
    max-width: 40px;
    word-break: break-all;
}

.centered {
    text-align: center;
    align-content: center;
}

.ticket {
    width: 155px;
    max-width: 155px;
}

img {
    max-width: inherit;
    width: inherit;
}

@media print {
    .hidden-print,
    .hidden-print * {
        display: none !important;
    }
}

I’m giving a fixed width to each thing, this way we take a small space because the thermal paper is narrow. So far we have this:

Receipt in JavaScript

Now we can print the ticket, or make the button to print it.

Hidding the button

In CSS we have the hidden-print class, that class is used to hide the button when we print the receipt.

Printing ticket in thermal printer

The JavaScript code is small. It is like this:

const $btnPrint = document.querySelector("#btnPrint");
$btnPrint.addEventListener("click", () => {
    window.print();
});

We are only calling window.print to tell the browser to print the document. When we press it, depending on the browser, a window appears, and there we can select the printer and some features.

Note: if you want to hide the dialog, you can use my plugin.

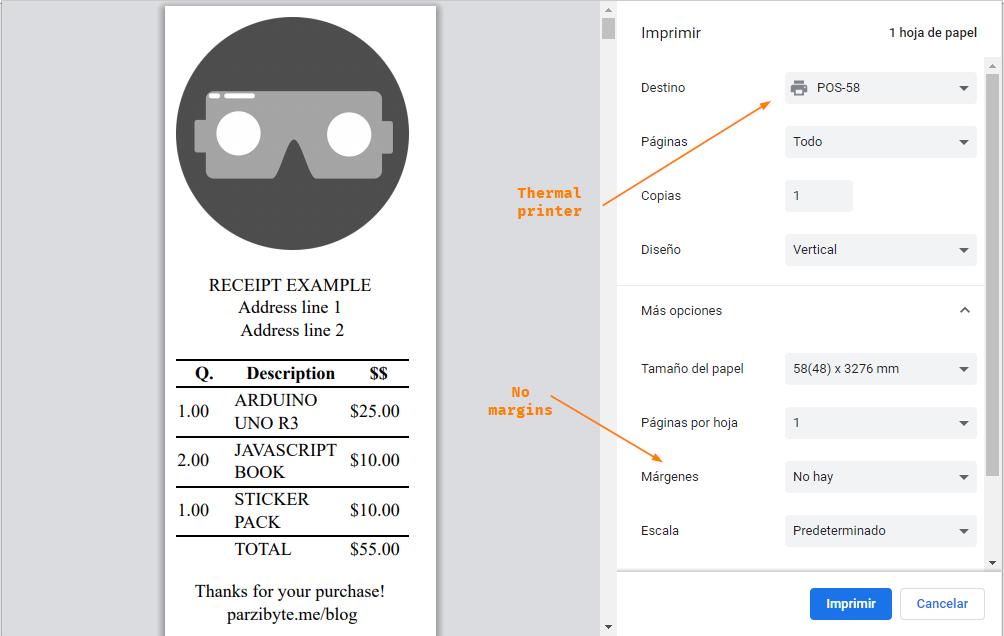
I am using Chrome, the thermal printer I have is a Xprinter 58, please note that I am not using any margins, so we can take the full space:

Preview to print receipt in thermal printer using JS CSS and HTML

And when I click “Print” Chrome sends the receipt to the printer and we have this:

Ticket sample Conclusion

In this way we can print anything by using a Thermal printer, CSS, HTML and JavaScript. The only issue is that we have to confirm the action, but I have developed the solution by using a plugin.

Si el post ha sido de tu agrado te invito a que me sigas para saber cuando haya escrito un nuevo post, haya actualizado algún sistema o publicado un nuevo software. Facebook | X | Instagram | Telegram | También estoy a tus órdenes para cualquier contratación en mi página de contacto