In the last months I have been working on a ticket designer to print on thermal printers by using ESC POS commands.
The free ESC POS thermal printer designer is web-based and can be used to create your own invoices, whether sales receipt, sales invoice, purchase receipt and any other design to print on thermal printers.
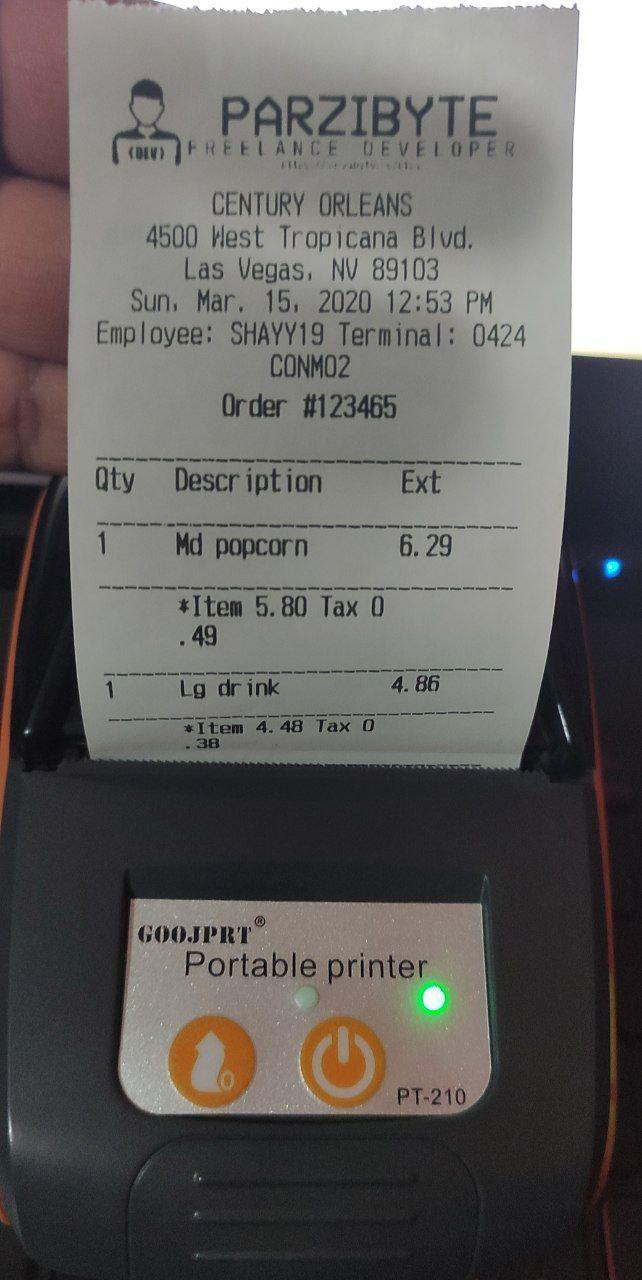
If you want, you can try it right now with the link below, but I recommend you review the content of the post before trying it: https://parzibyte.me/apps/ticket-designer/#/first-steps
You will be able to print images, formatted text, tables, QR codes, barcodes, cut the paper, advance it, open the cash drawer and design any receipt for your POS printer.
This will work with USB printers on Windows, Linux and Raspberry; as well as Bluetooth printers on Android. All using the same ESC POS receipt designer.
Thermal printer designer: features
With the ESC POS receipt designer you will be able to:
- See a complete guide on how to configure your printer and environment to be compatible with the designer
- Export and import operations, so you will never lose your designs
- Print your designs on your thermal printer without any limits
- Create multiple designs by choosing the platform and printer
- Generate design source code in different programming languages to print them in a programatic manner when required
- Choose from various operations such as barcode, image, QR code, text, cut, paper feed, internet image, local image, custom characters, accented text, partial cut, drawer open, change font size, underline, emphasis, 90 degree rotation, alignment or printing to a character page.
I tell you again: the designer is web-based and can be installed as a native app thanks to the fact that it is a PWA. So it should work in almost any environment that has an up-to-date web browser.
Important note: if you want more information about the designer or have questions, I invite you to review the videos I have recorded talking about the software here: https://www.youtube.com/playlist?list=PLat1rFhO_zZiFR2CdNJWkcCcRKO0sYQVL
Setup guide
Inside the designer you will find a step-by-step guide that will tell you what you have to do in order to setup your thermal printer and download the necessary tools according to your operating system.
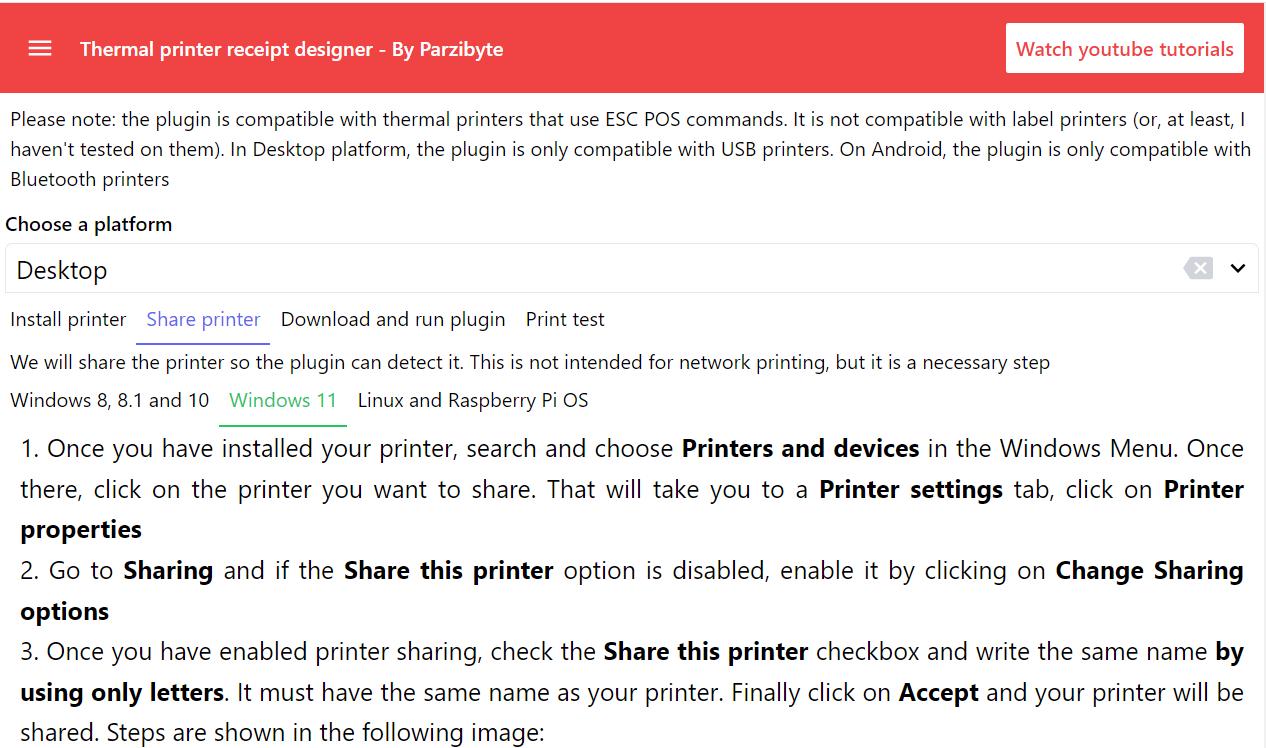
As you can see, it is a step-by-step guide to installing your printer, sharing it wherever necessary and finally performing a test print.
You only have to follow the guide carefully once, and when you manage to print a test receipt you can design your tickets to print on the thermal printer later.
Making ESC POS designs
The main part of the designer is the designs list. All the invoices you have created will appear here with the option to edit their operations, their data (such as the thermal printer where they will be printed), delete them or print them directly.
They will also have an indicator of the successful connection with the plugin.
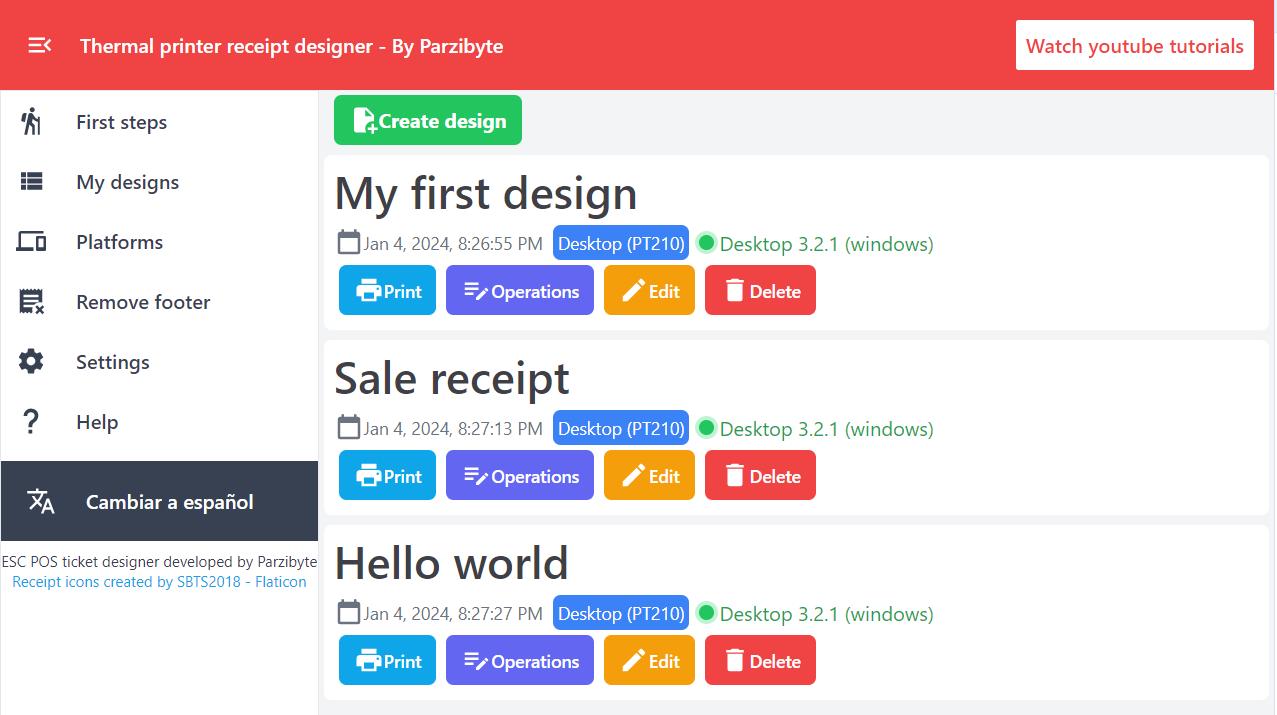
In this section you can create a new design by indicating its name and selecting the printer, or you can click on Operations of any design to go to the main module: the operations that can be done for our designs.
Creating a design
At the beginning, there will be no operation. We can choose between all the available operations:
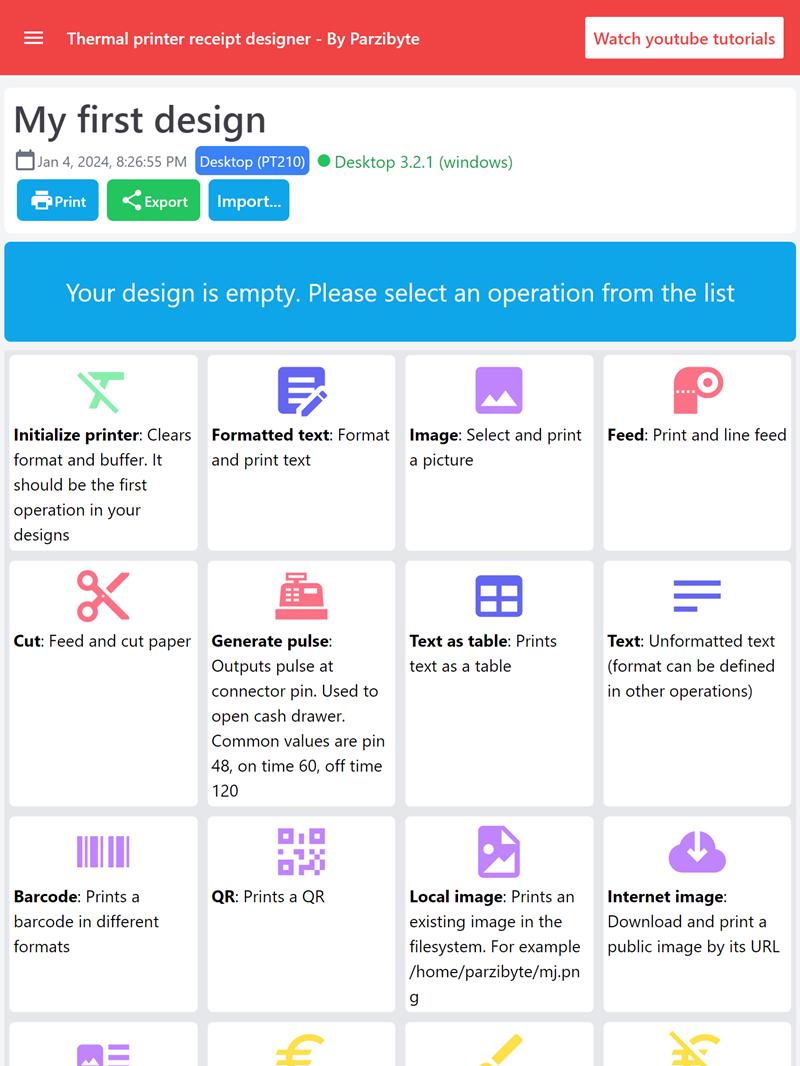
Simply choose an operation to add it to the receipt, and once you add it, the changes will be saved automatically. You can print at any moment to test your design, and export or import the list of operations to have a backup.
For example, here I have a design of a sales ticket that I made using the web receipt creator itself. As you can see, it is easy to add your logo and print any formatted text:
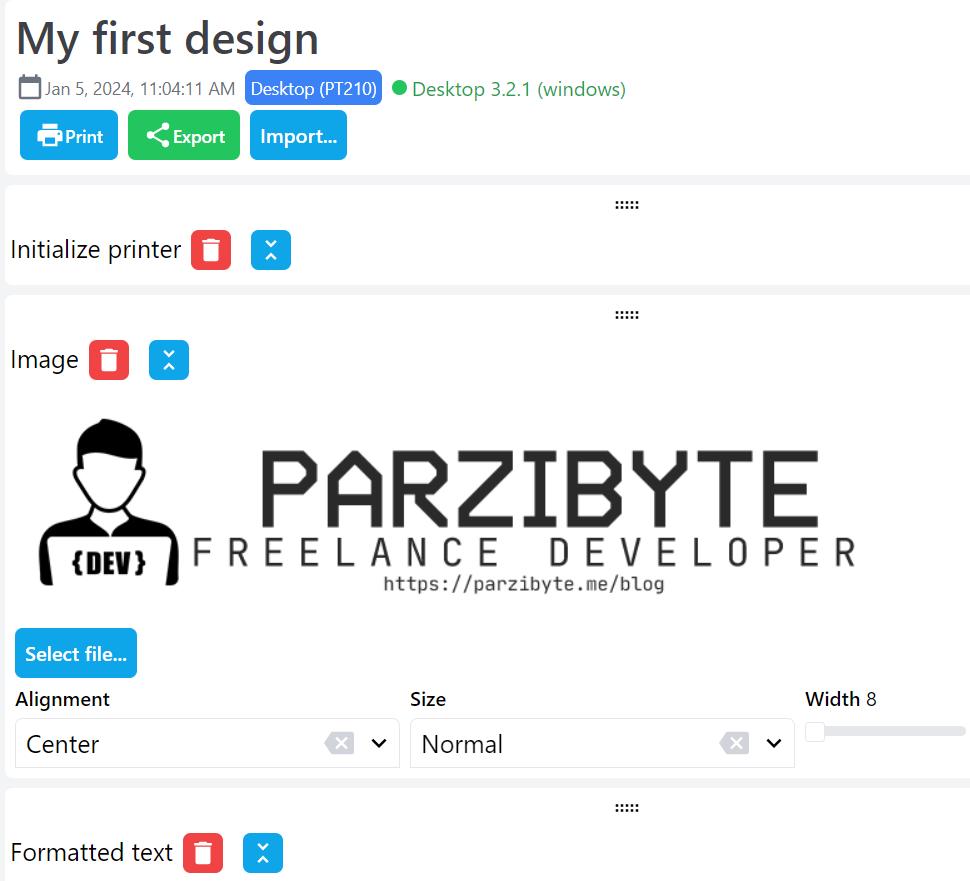
You can change the text alignment, size, image width and you can also add tables, barcodes and qr codes to your thermal receipt.
For now I am showing you only some operations that you can add to your designs to print on ESC POS printers, but later I will upload videos explaining each operation in depth: https://www.youtube.com/playlist?list=PLat1rFhO_zZiFR2CdNJWkcCcRKO0sYQVL
Note: On the desktop version, you can drag and drop operations to swap places.
Running the POS printer designer on other operating systems
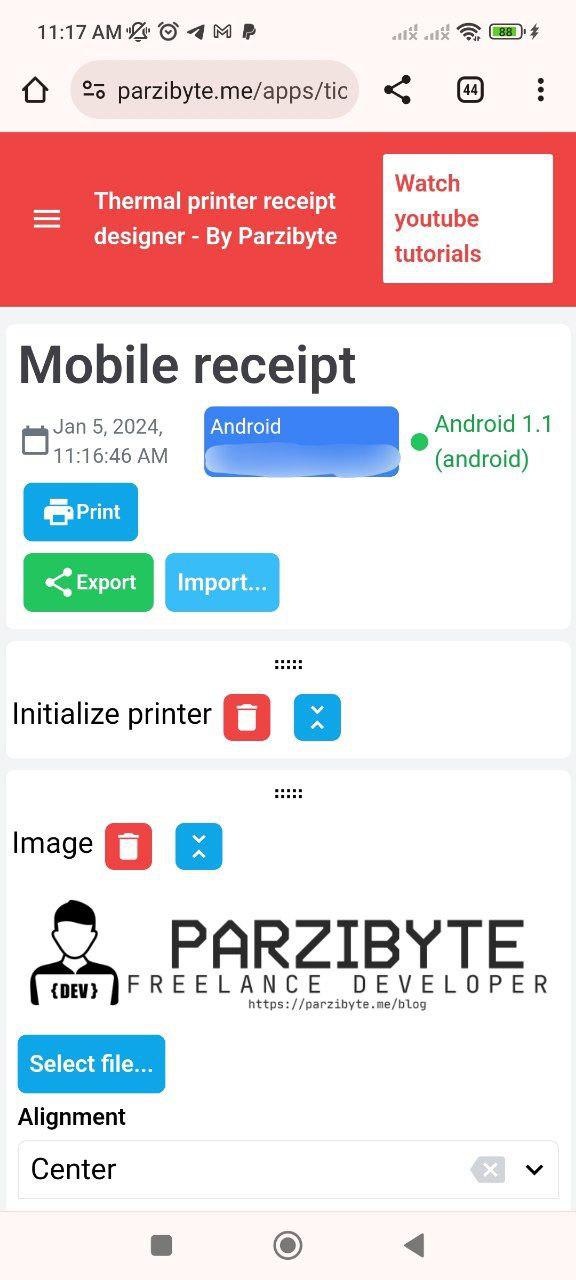
I have tested this ticket designer for thermal printers in various operating systems such as on Raspberry Pi OS with Chromium, Android with Chrome, Windows 10 with Chrome, Windows 11 with Chrome and Linux with Firefox. You just need an updated browser.
For example, here is a screenshot of the designer running on Android. Notice that the connection to the plugin is also successful:
Source code generator
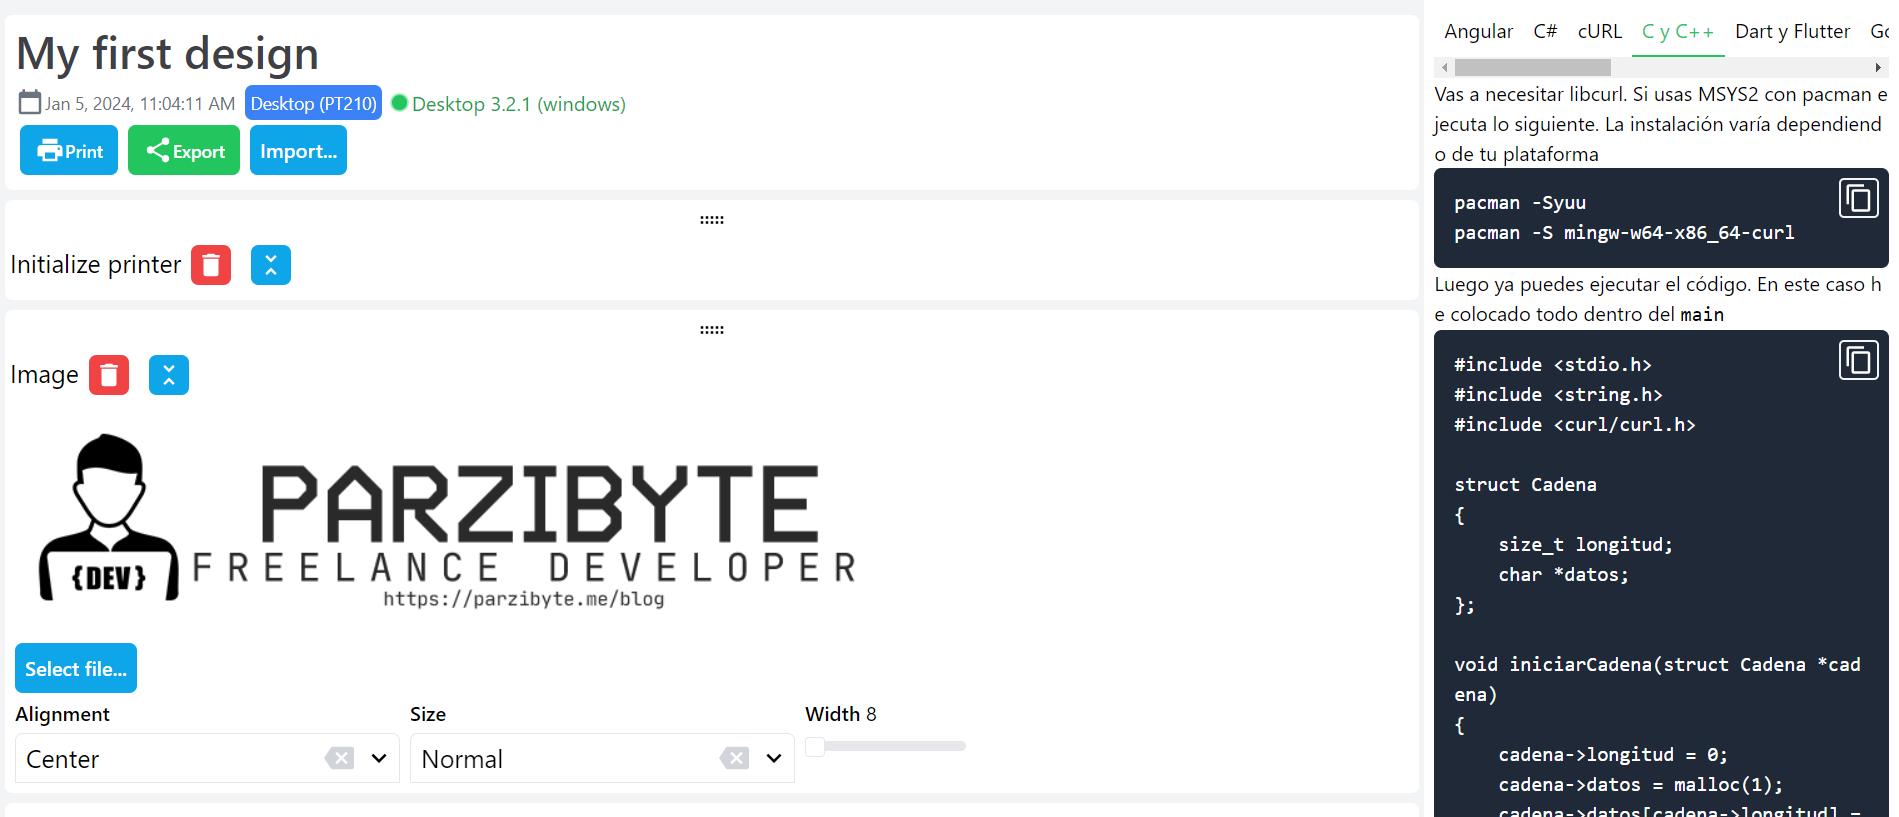
Another very important feature of the designer is that it has a source code generator based on the design you are making. With this, you can create your ticket and then copy the source code to print on a thermal printer from your favorite programming language.
To do this, enable Developer Mode in Settings. Next, go to the design operations and choose your programming language on the right.
I’ve taken it so far that it even generates source code to print a receipt on C programming language:
For now the POS printer designer generates code to run on:
- Angular
- C#
- cURL
- C & C++
- Dart
- Golang
- JavaScript
- Laravel
- PHP
- Python
- React
- Vue 3
Source code and downloads
The designer source code is on GitHub: https://github.com/parzibyte/esc-pos-ticket-designer
In the case of the designer itself, it is a totally web application; You don’t need internet to use it and all the data is saved on your computer. I recommend installing it as a PWA to make it even faster.
In case you forgot, you can use the ticket designer for thermal printers here.
Conclusion
I always wanted to make an invoice creator so that anyone with a thermal printer can print tickets without any limits, and I finally created it.
It is a tool that uses another of the tools that I have created: my plugin. With this, both users and programmers can design invoices to print on POS printers programmatically or using the tool, reviewing the generated source code.
Its development has been long and complex, since in addition to the complexity of making the designer compatible with several plugins, I used new technologies for me such as Vue 3, Tailwind and SQLite3 on the web with OPFS.