5.3 - Directorio de storage cambiado de ubicación
In this tutorial I will show how to install OpenCart in its version 3 on a server with PHP. You can mount it directly on a server in production, or on your localhost for testing.
Go to the official download page and click Download now.
That will give you a zip that has a folder called Upload. Inside that folder is everything that is necessary, and what you have to upload to the server, but first let’s see some preparations.
We must have a username and password to access MySQL or MariaDB; in addition to a clean database (and the user must have access to it) where OpenCart will work.
If you are in XAMPP, your public folder is htdocs, inside it create another folder and put the upload content there (since we are going to test, it is not a server in production).
In case you use cpanel, your public folder is public_html, put all the upload content there (do not put the folder, put its content in public_html).
That will make your main domain enter the store; if you want to put it in a subdirectory you are free to create it and put the content there.
If you use another type of hosting this may vary, and if it is a Linux server then it goes to/var/www/html….
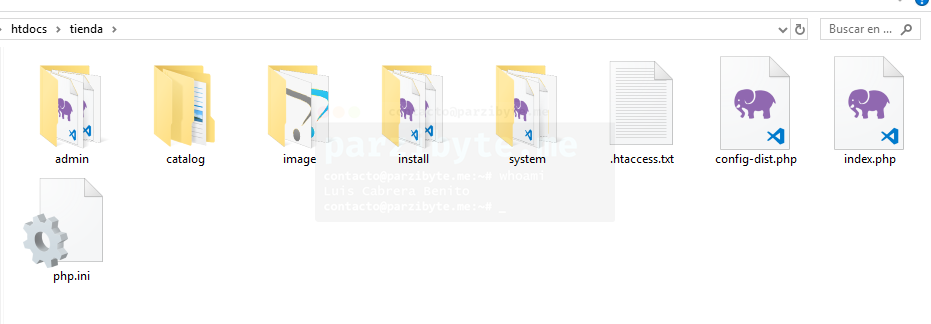
As I am doing local tests I will create a folder called “tienda” in htdocs, its content and route is as seen in the image below.
Remember that the content was copied from the upload folder that is in the zip.
Now that we have already copied it, it is time to start the installation,
Let’s see how to Install OpenCart.
You have to rename two files. The first one is called config-dist.php, we’re going to change it to config.php
The second one is inside admin and it’s called config-dist.php too, we’ll also rename it to config.php
Just to confirm, now in the root it should be config.php and in admin one called config.php
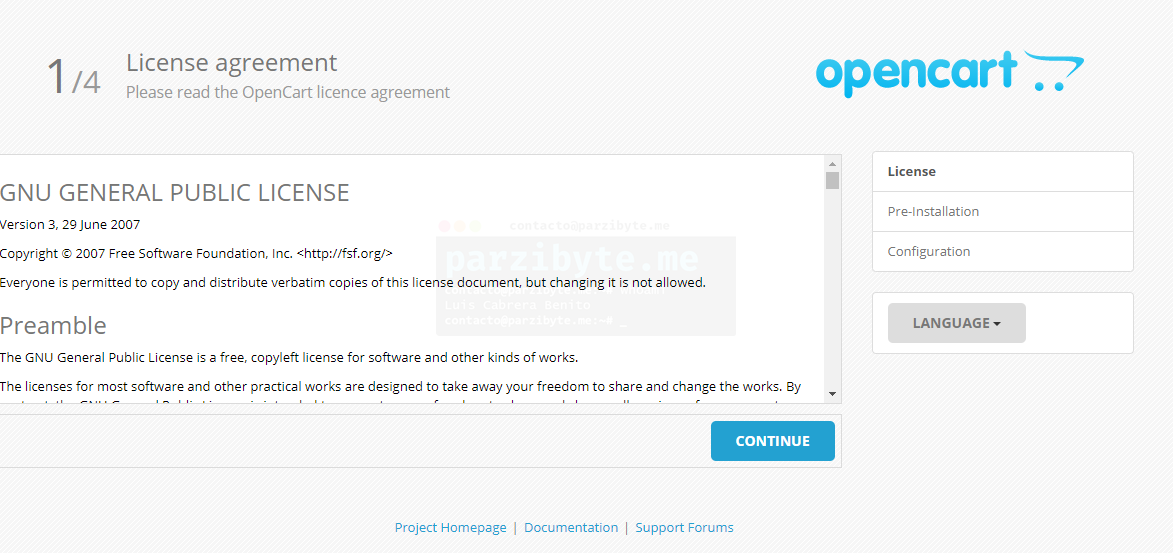
It’s time to access that folder from the browser. If you are on localhost then it is localhost/ tienda; and if it is a custom domain, enter that domain.
We will begin the installation by accepting the license. If you accept it, click Continue. If not, then you can not install the software.
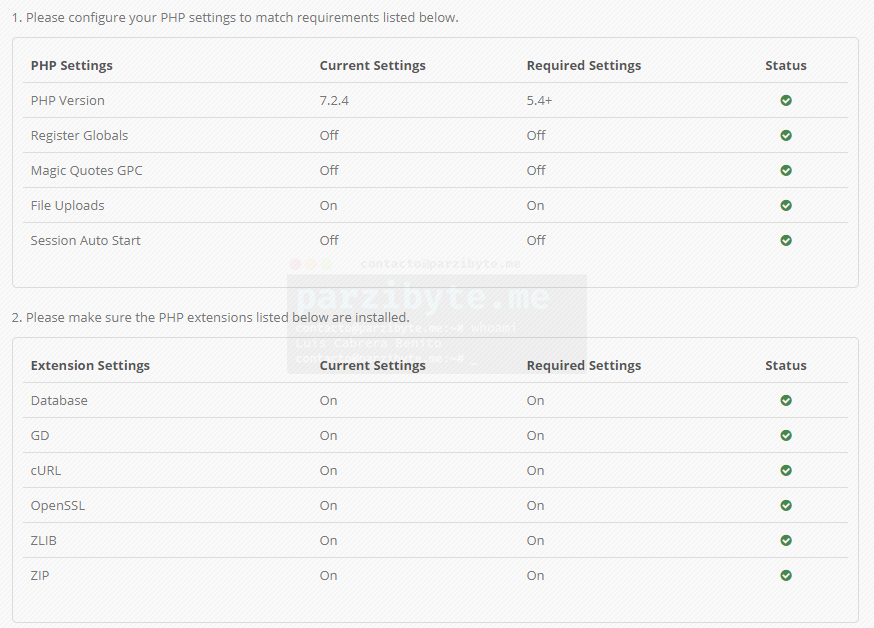
In the next step OpenCart verifies that our environment is compatible and that the necessary PHP extensions are also enabled; all of them must have the green icon.
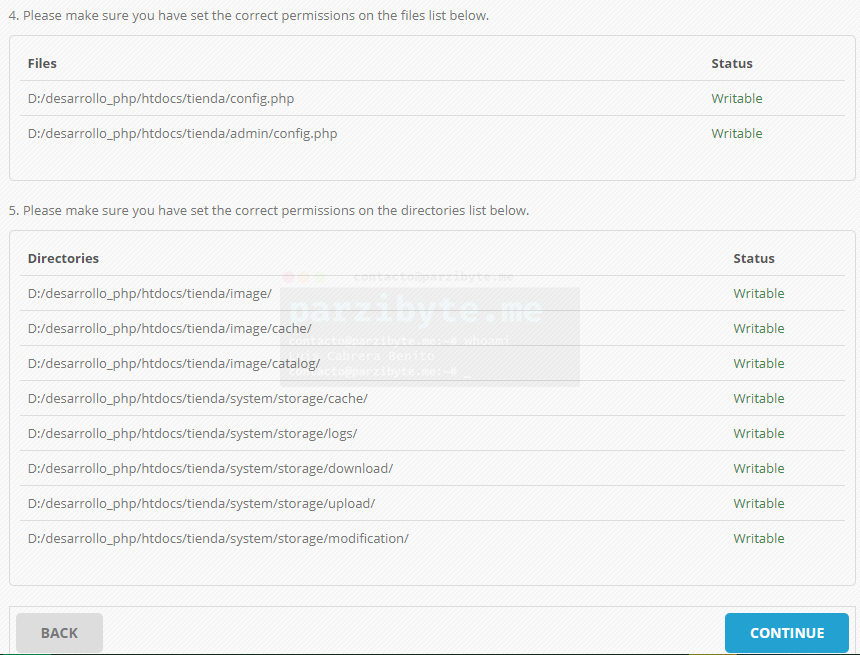
In the bottom part it will make a check of the files and folders.
If you are in Linux and get errors in the files make sure to give write and read permissions.
If you look there are the files that we rename at the beginning.
When you are ready click Continue.
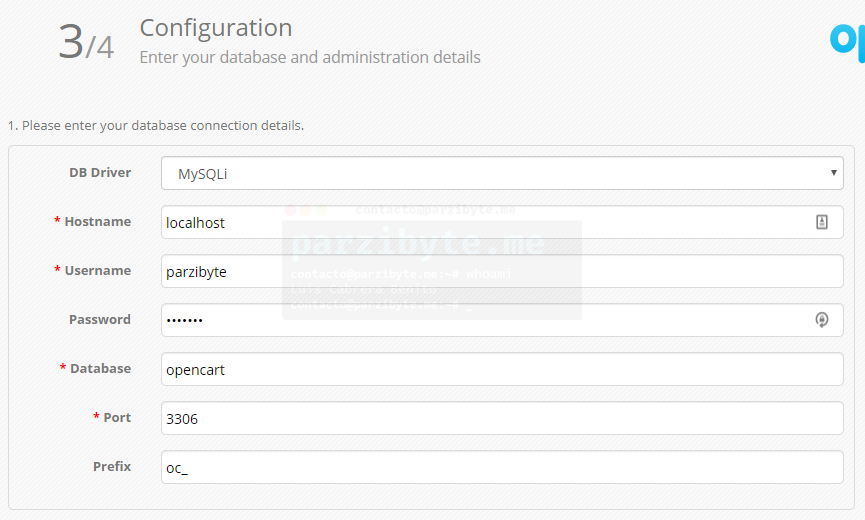
It is time to indicate the access credentials and the name of the database that will be used by OpenCart.
In DB Driver choose MySQLi, because in the end we will not touch the code and that extension is fine.
In hostname leave it as it is ( even if you are on the internet) unless your MySQL server is somewhere else; the same applies to the port.
The prefix is the prefix of the tables within the database, leave it like this or remove it if you do not want prefixes.
Finally, type your MySQL username and password.
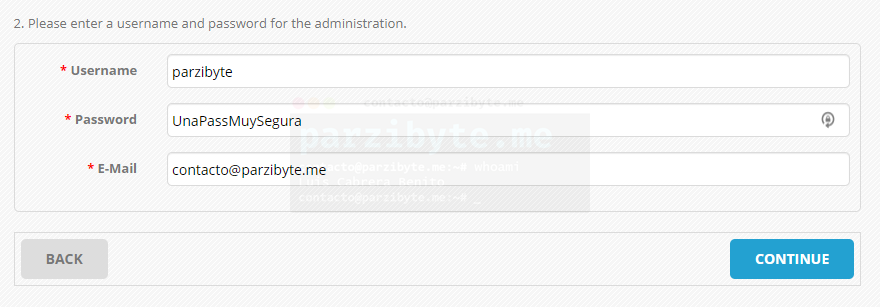
Below you will find a form for the OpenCart administrator, this has nothing to do with the credentials of the database. You can leave the username as admin or change it.
Choose a secure password and write a true email; when you’re ready click on Continue.
Depending on the power of your server the process will take a little longer or a little less, be patient and wait for the installation to finish.
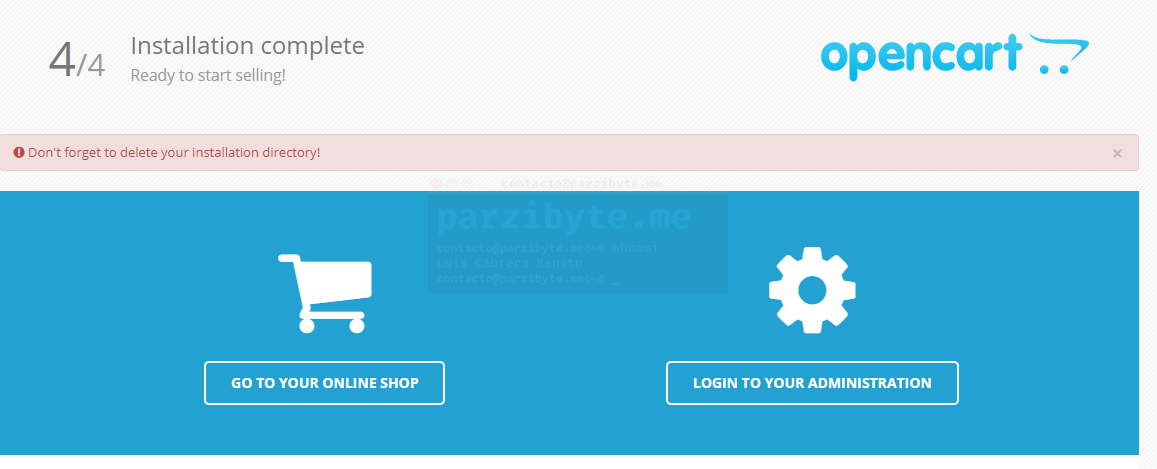
When it finishes, the following will be displayed:
You can click on both options; to go to the store click on Go to your online shop and to go to the control panel click on Login to your administration.
Please open a new tab for the administration.
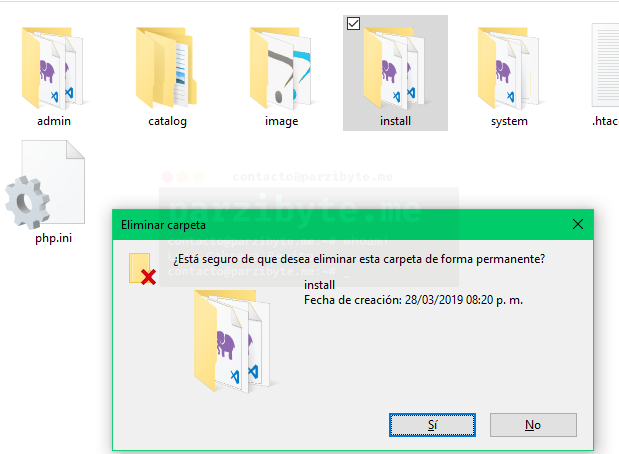
In the screenshot above we see a warning to delete the install folder, so we delete it ; all this is for safety:
With that we have finished the installation, now we will see other details.
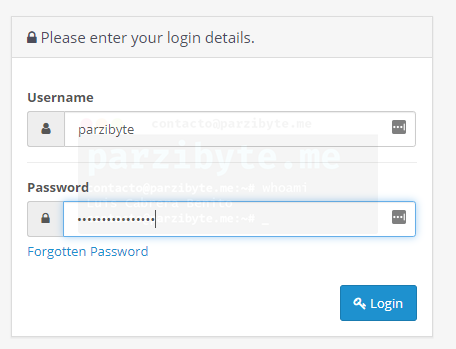
To access the panel go to the address of your store but add /admin. In my case it is localhost/tienda/admin.
Login with the credentials that we configured previously (not those of the database, the others):
Click on Login.
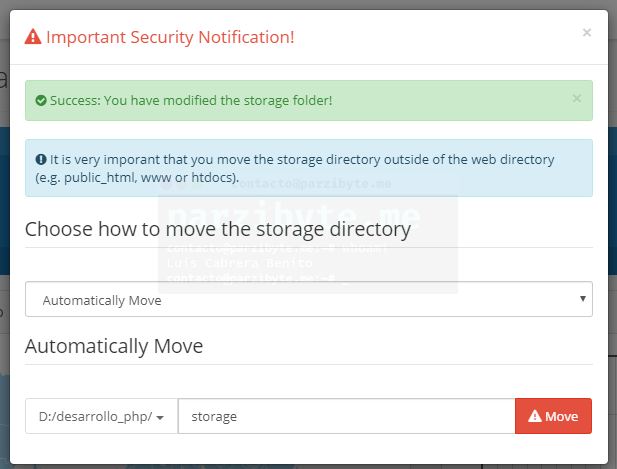
This wonderful software recommends us to change the location of the storage directory; removing it from public access.
You will see the alert when you log in, click on Move with the option it offers.
In this way the storage will be a folder above the public one:
Wait until it finishes moving, it will show an alert and then you can close the window. If you generate an error, try changing the route.
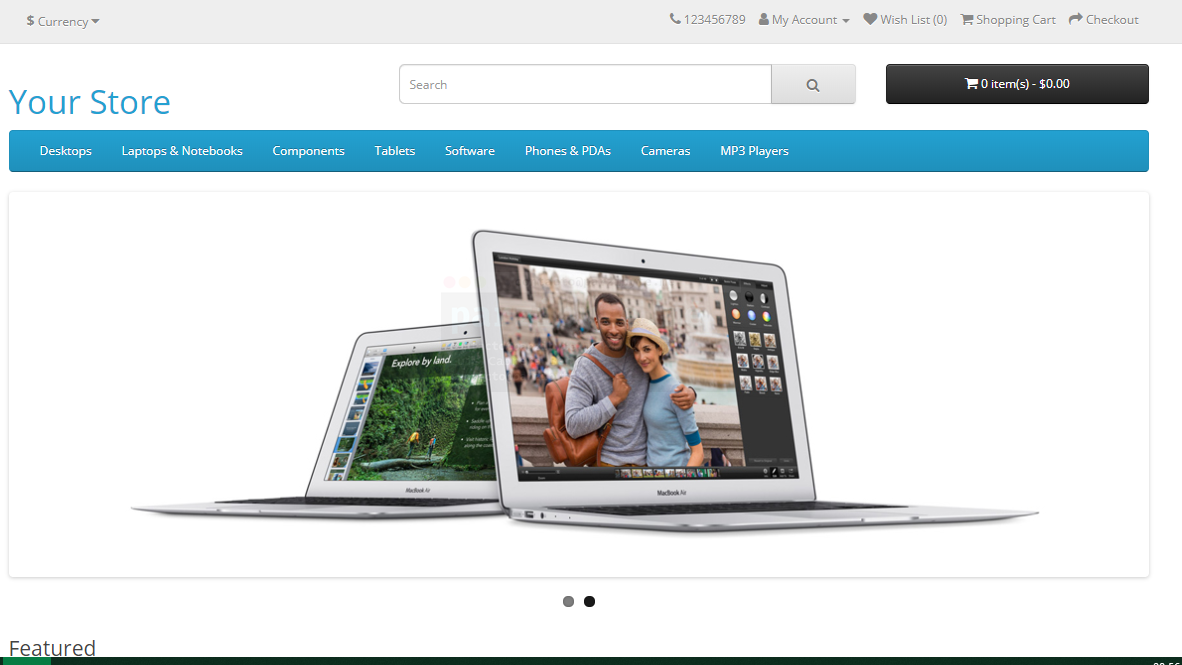
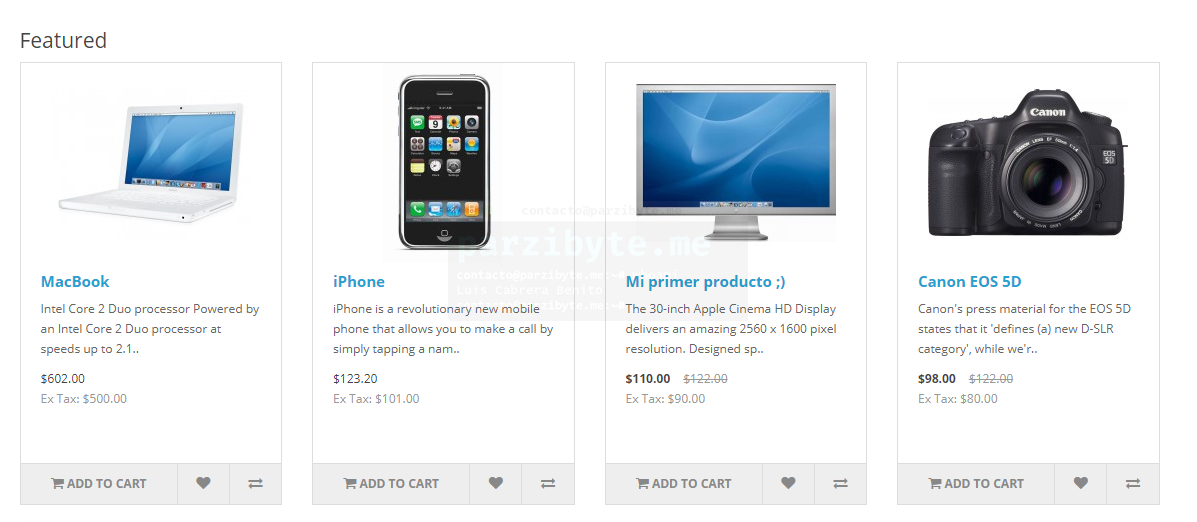
Now we can visit our store navigating to the domain where we host it; in my case it’s localhost/tienda and it looks like this:
That is what our customers will see. By default there are already some products, we will see how to edit one.
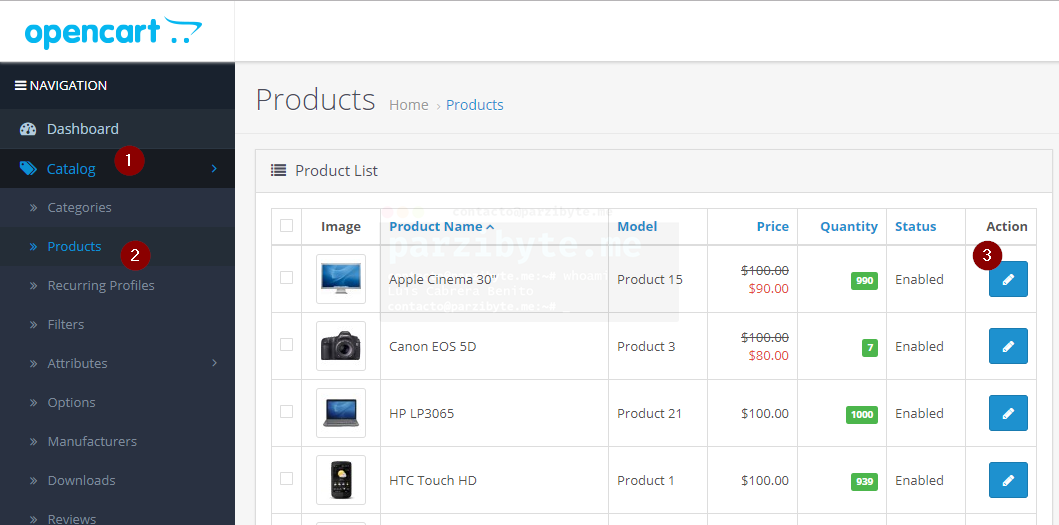
Let’s go back to the control panel. There navigate to Catalog> Products and edit any product with the blue button.
That will take you to a new interface. Change some data and click on the button to save.
Now go back to your store and find the product that we just published:
Congratulations, you have edited your first product.
Throughout this tutorial we saw how to install OpenCart in a Windows environment, but this applies completely to other servers and operating systems that meet the requirements.
The next step is to start selling your products, familiarize yourself with the software and grow online.
I hope to write more tutorials about OpenCart, both about its use and its code.
If I do it in the future, I will do it under the OpenCart category.
In the last months I have been working on a ticket designer to print on…
In this post you will learn how to use the Origin Private File System with…
In this post you will learn how to download a file in the background using…
In this post I will show you how to use SQLite3 directly in the web…
In this tutorial, we'll explore how to effortlessly print receipts, invoices, and tickets on a…
When printing receipts on thermal printers (ESC POS) sometimes it is needed to print images…
Esta web usa cookies.